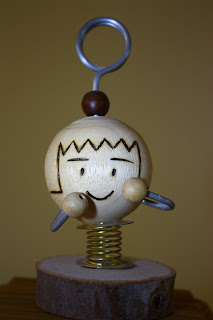
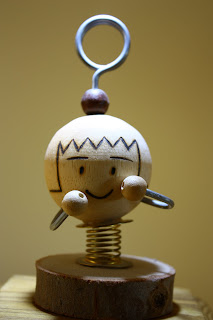
After reviewing the light and the subject, I have decided to take photos during the day using top of staircase. I made a light diffuser from scratch using cardboard and some plaster.
The diffuser is not 2ft x 2ft but it's big enough for the subject.
As a result of the 2nd attempt, I prefer this location.
Subject with out light:

A.Light with diffuser same level as the subject and camera:
1.Front

2.Side

3.Behind and to one side

This lighting position hight the edge of the subject the most.
4.Directly behind

This lighting shows the shape fairly well due to silhouette effect.
B.Light with diffuser point toward the subject at an angle of 45deg:
5.Front

6.Side

7.Behind and to one side

8.Directly behind

C.Light with diffuser point downward to the subject:
9. Directly above

10.Above slightly in front

11.Above slightly behind

Different lighting position gives different impression to the subject. I like all of them but if I have to choose, I like no.6 where the light pointing side way at an angle. It gives dimensional effect and doesn't create too harsh shadow.

No comments:
Post a Comment