skip to main |
skip to sidebar
Part 1 - View in sunlight and under the cloudThis part of the homework, I took all photos near house. I had to wait for the weekend like this. Some weekend, there was no single cloud in the sky and some weekend, it rained the whole time.I used "Day light" white balance with "Aperture priority" mode and "Evaluation metering" mode for this homework.Photo 1 - buildingThese two photos below, the sun was behind me and the cloud kept drifting across the sun.Sunlightsetting: f/13, 1/250sec, ISO200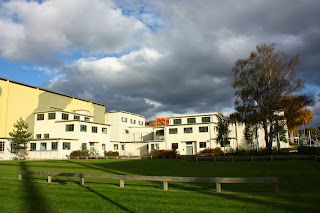 cloudysetting: f/13, 1/200sec, ISO200
 That was about 1/2 f-stop different for these two photos. I could tell the different between the two photos. The one above has higher contrast because the sun made the colour of the building so bright constrasting with the bright grass in the foreground.These two photos were taken by only 1 minute different.
Photo2 - Park
These two photos below, the sun was from my left hand, drifting in and out of the cloud.
Sunny
setting: f13, 1/200sec, ISO200
 Cloudysetting: f13, 1/125sec, ISO200
 The two photos above are about 1/2 f-stop different.The two photos were taken at about 10 min different. I was waiting for the sun to come back out of the cloud.
Photo3 - Person
I took these two photos in different day but tried to keep the time to be about the same.
Sunny
setting f4.5, 1/1000sec, ISO200
 Cloudysetting f5.6 1/25 ISO200
 The two photos above are about 6 f-stop different.
Overall, when the cloud cover the sun, the shadow edge is deffinitely less distinct. they look less contrast, more bland and less colourful.
From the photos above, I prefer the one under the sun.
Some photos maybe better taken in the cloudy day for example a portrait in black and white.
Part 2 - overcast day
I had to wait for the day the sky turned gray again and usually when it does, it is not happening at the right time because I am either at work or too ill.
Pronounced relief
These two photos have been post processed by increasing contrast and adjust white balance to day light (4900K) because the original look so dull and cold!
Photo1 - tree skin

Photo2 - tree skin
Strong colour:Photo3 - Complementary colour The good thing about taking colourful photo under cloudy sky is there is no risk of having harsh shadow.
Part 3 - raining
I took these photos in Wales one weekend. It rained most of the time but the scenery was very beautiful. My husband helped carrying an umbrella for me. (for the camera mainly)
I remember seeing a photo in a magazine I read. It's a photo in black and white of a little girl wearing rain jacket walking in the puddle. It was so beautiful.
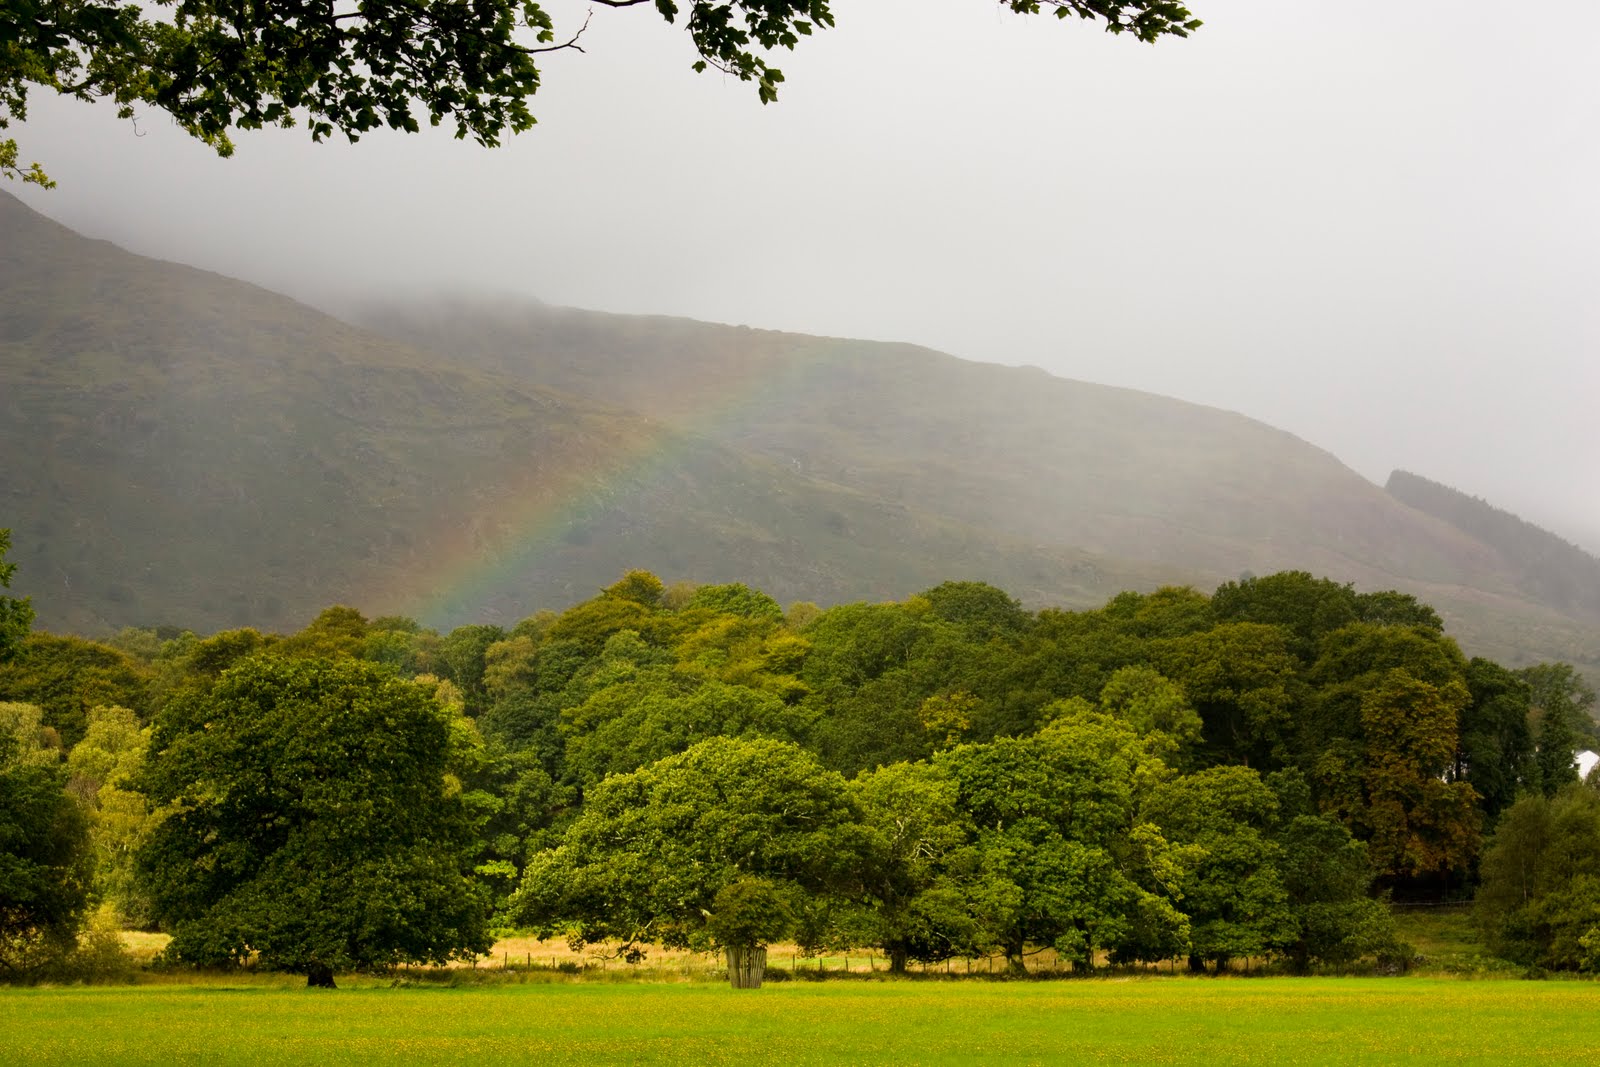
photo 1 - rainbow
 photo 2 - foggy background
 The rain has made the grass more vibrant and the mist has create dramatic to the photo above.