I had my husband to be a model once again.
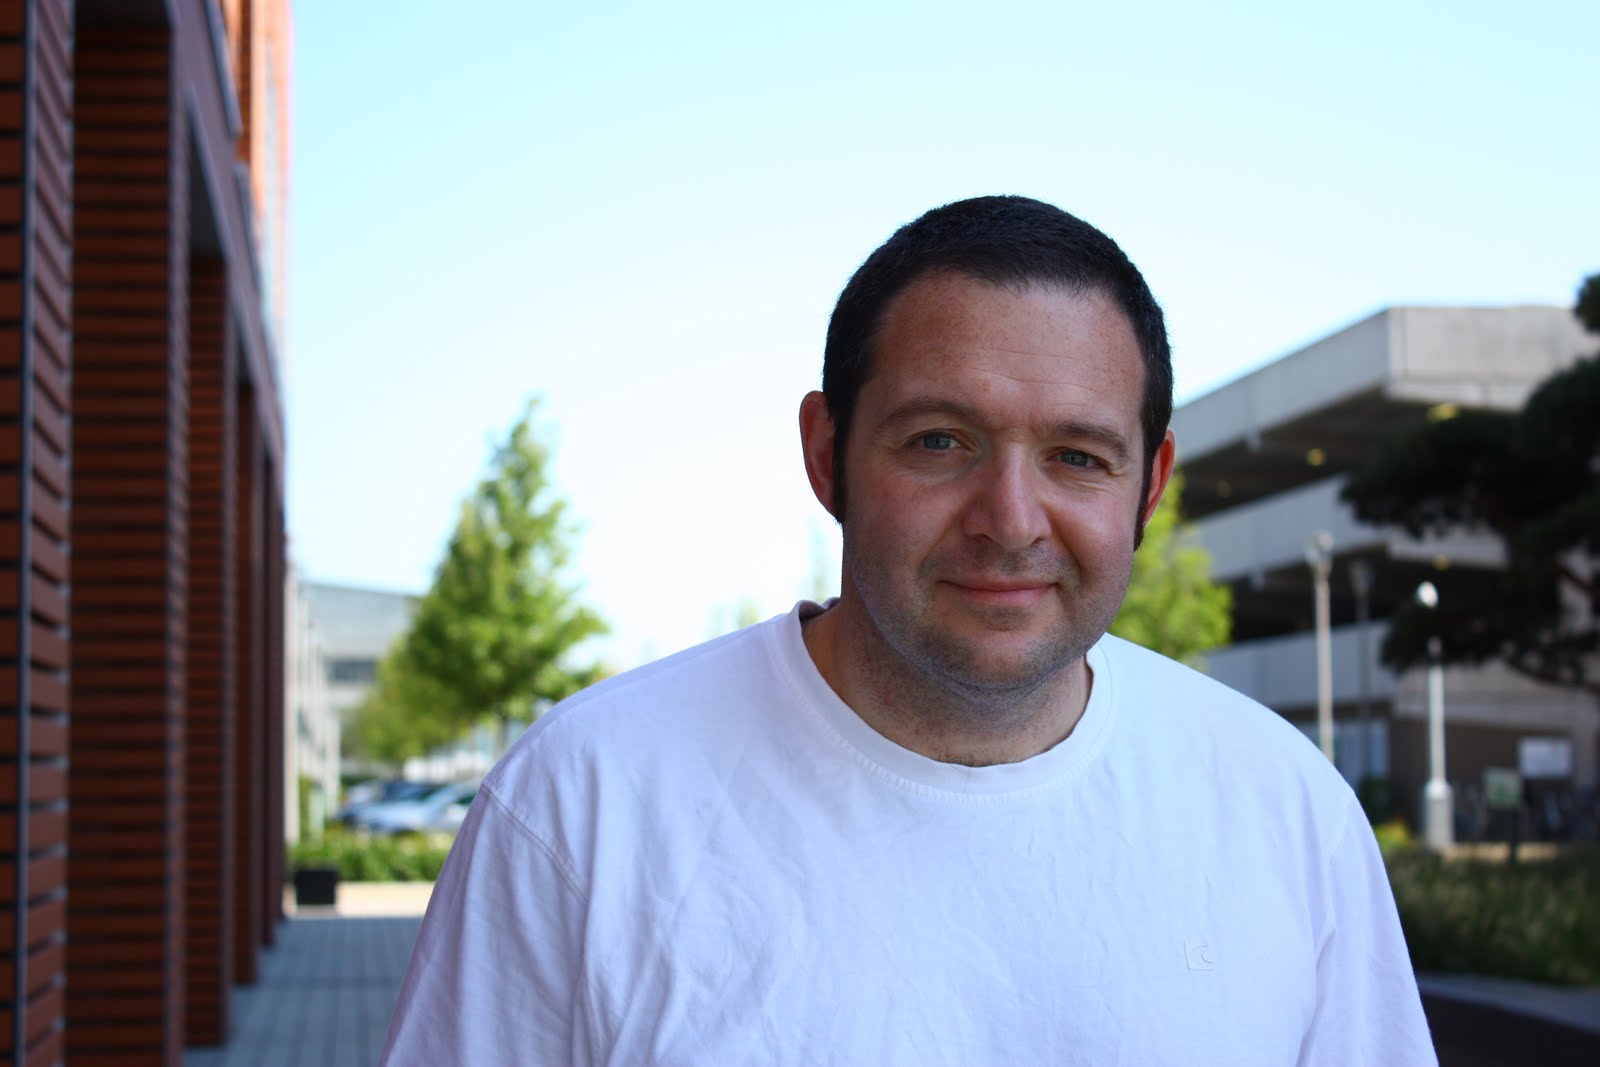
Full sunlight during middle of the day:
daylight/sunlight white balance
The result looks OK.
shade white balance:
The photo looks too orange.
Auto WB setting:
The photo looks OK.
In shade during the middle of the day:
daylight/sunlight white balance
The result looks slightly too blue.
shade white balance:
The photo looks only just too orange.
Auto WB setting:
The photo looks OK.
In sunlight when the sun is close to the horizon:
I took the photos near sun set. All setting look quite orange.
The colour temperature is lower, hence orange and the camera is trying to compensate by applying higher colour temperature, blue, to the photos but they still look cold .. orange.
daylight/sunlight white balance
shade white balance:
Auto WB setting:
The result of auto white balance, AWB, of this camera came out OK for most photos condition. I don't tend to change the white balance that much unless the photos look really strange like too blue or too orange then I would use RAW converter to change the white balance.
The colour of photo should not look the same. The different in colour has effect on how you feel when you look at the photo. The photo at sunset or sunrise will be more orange because the colour temperature is lower and by looking the photo, you will feel that it's the different time of the day than the photo taken during the day with slightly blue in the colour.
Monday, 26 September 2011
Wednesday, 21 September 2011
Exercise - Judging colour temperature 1
I have always taken photos in RAW + JPEG The camera I used is Canon 450D. When I open Raw file in CS3, the colour temperature set by the camera "Day light" is different to the "Day light" in raw file converter. It seems the "Day light" in the camera is cooler (about 5000K) than the "Day light" in raw file software (about 5500K)
I like the "Day light" colour temperature set by the camera more. The one set by CS3 software seems a little bit on the orange (warm) side.
I took a few photos of Graham's face, a few in the early afternoon under the Sun with front light and side light, one in the shade by standing under the tree or waiting for the Sun to go behind the cloud and another one in the late afternoon at around 6.45pm when the Sun was at the horizontal. I chose that time because I checked the MET office and found the Sunset was at 7pm.
1.Full sunlight early afternoon
This image has quite harsh shadow on the face. It makes the photo high contrast. some area on the face and t-shirt have overexposed.
2. In shade during the same time (early afternoon)
This image has lower contrast with less harsh shadow on the face. Overall the face looks somewhat under expose.
3. At sunlight when the Sun was about to set (very close to horizon)
This image looks similar to the one taken under the shade but slightly better. It has a bit more red in the light.
During taking photos, the eyes adjusted to the ambient light and could not see much different between the one in shade and the one at Sun set. All I could tell at the time of shooting was that there was not much light while the one taken directly under the Sun had too much light that it's difficult to get photo taken with properly exposed.
Thursday, 1 September 2011
Exercise - Higher and lower sensitivity
I took 12 different photos, 6 with higher ISO of 800/1600 and another 6 with lowest ISO of 100.
The purpose of this exercise is to see how easy the photography was and assess of the image quality.
Higher ISO
I took 6 different photos in low light situation.
1. this one was taken in a cript under Winchester Cathedral. By setting ISO of 1600 (the highest ISO available in my camera) I could manage to get this shot without using tripod.
2. I was trying to capture image of fish in a pond. With ISO of 800 I managed to get shutter speed to 1/60 sec and therefore just about to freeze the movement of the fish.
3. This image was taken in a pub and with low light. the high ISO of 800 able me to get this shot without too much blur.
4. Taking an image in this Cathedral with ISO of 800 helps increasing shutter speed enough to freeze the moment of the choir
5. This image was taken just after the Sun had set. By using ISO of 1600 I could just about to manage to take this image without tripod.
6. This image was taken under a slightly overcast day. I set an ISO to 800. The only movement in the image was I trying to hold a camera very still.
Summary: Most of the images using higher ISO (800/1600) has made it more possible of taking photos at lower light level and with movement of subjects.
Lower ISO (sensitivity) All images below were taken with ISO setting at 100. The purpose was to see how easy capturing images with low ISO .
1. I had to admit that I took the image below using tripod. With ISO100 the shutter speed was too slow (1/6sec) for me to able to hold the camera still.
2. This image was similar to the image using higher ISO. With ISO 100 the image was really blur.
3. This image was taken in a pub at the same time as taken with high ISO.
The lower ISO of 100 has made the image very blur with somewhat artistic! (captured all the hand movement)
4. This image was taken in a low light gallery. Setting ISO 100 has made it more difficult to prevent image blur.
5. This image was also taken using tripod to be able to get the flow of the river.
6. This image was taken on a tripod. Without it the image would be quite blur because of the low light level.
Summary: The lower ISO of 100 has made it more difficult or near enough impossible to take photos in low light level without any image blur because of the lower shutter speed. Using tripod has helped making it possible in reducing any camera shake.
Conclusion:
The images taken with much higher ISO (800/1600) contain speckled texture or grain while the images with lower ISO (100) have much visible grain.
The higher the ISO setter, the higher shutter speed the camera can achieve with the same f stop which consequently less blur / shaky images produced.
The preferred images are the ones with lower grain. However with lower grain images, it means to use lower ISO setting and consequently slower shutter speed which possibility of causing camera shake during photography.
Without the help of tripod to reduce camera shake with the slow shutter speed, higher grain would be the preferred choice.
Using advanced image manipulation, the grain can be reduced, but the blurry photo can not be corrected!!
Subscribe to:
Posts (Atom)